Grazing, Organic & Small Dairies
Milking a Family Cow by Hand: Daily Routine and Hygiene
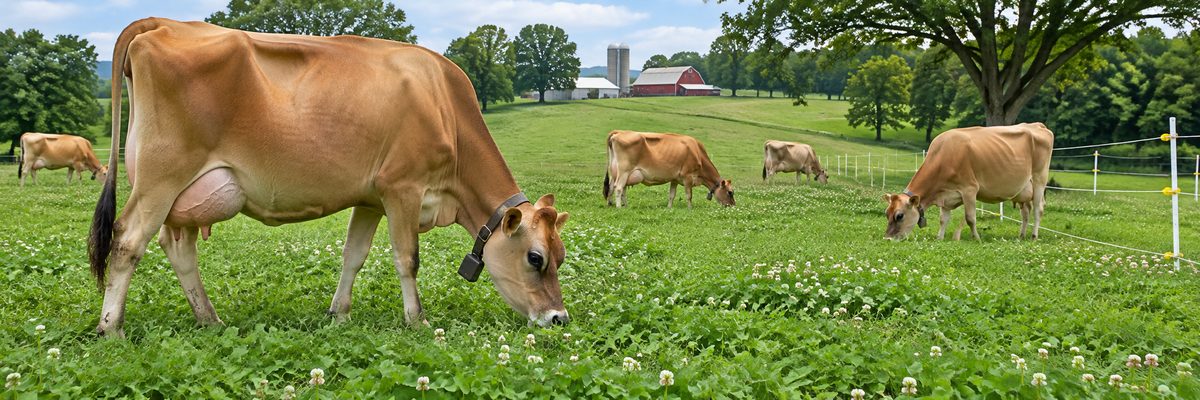
Hand milking is a skill you pick up with your hands first and your forearms second. The routine matters more than the technique, because a cow who is milked at the same times, in the same calm order, with clean teats and clean equipment, will let her milk down easily and stay healthy. Technique improves with practice. Dirty habits don't improve by themselves.
Expect the first week to be slow, awkward and a little humbling. You may get a thin stream, a sore hand and a cow who looks back at you with obvious doubts. By week three most people have found the rhythm, and by month three they're annoyed that anyone ever thought this was hard. The cow, meanwhile, has opinions about every change you make.
Set up the milking spot
Milk in the same place every time, if you can. A stanchion or head catch, a halter and a post, or a stand with a bit of grain for her all work. The spot should be clean, dry, well lit and out of drafts. Keep dogs, cats and visitors elsewhere. A cat looking for a squirt of milk is charming until it's in the pail.
Gather your gear before you bring her in:
- A stainless steel pail (smooth, no seams or dents where milk and bacteria hide)
- A strip cup or small cup for the first squirts
- Clean cloths or single-use paper towels, one per cow or per milking
- Warm water with a mild udder wash or a sanitizing solution suited for teats
- Teat dip and a dip cup for after milking (see how to choose a teat dip)
- A strainer or milk filter, clean jars and a way to chill the milk fast
- A stool and a notebook
The routine, step by step
- Keep timing steady. Milk at the same times every day, about twelve hours apart for twice-a-day milking. Cows are creatures of habit and a changed schedule can reduce let-down. See why cows hate milking schedule changes.
- Bring her in calmly. A cow who's been rushed or yelled at holds back her milk. Speak quietly and give her a few minutes to settle.
- Wash your hands. Then check her over: udder swelling, heat, hard quarters, odd teats, a cut or wound.
- Clean the teats. Brush off loose bedding. Wash and wipe teats and the base of the udder with a clean cloth and a suitable solution, then dry them. Wet, dirty teats are how mud and bacteria end up in the pail. Pre-milking teat prep, step by step gives a fuller version.
- Strip the first squirts. Squeeze a few squirts from each quarter into the strip cup, not on the floor. Look for clots, flakes, strings or watery milk, which can signal mastitis. This also stimulates let-down. Why forestripping still matters explains the reasoning.
- Milk. Sit with your head against her flank and the pail positioned under the udder. Use a full-hand grip. Close your thumb and first finger around the top of the teat to trap the milk, then squeeze with the remaining fingers in order from top to bottom to push the milk out. Release and let the teat refill. Don't pull or drag the teat, and don't just pinch with fingertips. Keep a steady rhythm and alternate sides.
- Finish completely. Milk all quarters until the udder is soft and the flow tapers. Leaving milk behind is a mastitis risk and teaches the cow to give less.
- Dip the teats. Right after milking, dip each teat in an approved teat dip to protect the open teat end while it closes. Keep her standing for a few minutes with some feed so she doesn't lie down in the dirt right away. See pre-dip versus post-dip for what each does.
- Strain and chill the milk at once. Pour it through a filter into clean containers and cool it quickly. Cooling and storing family cow milk goes through how. Warm milk is where bacteria multiply.
- Clean everything. Rinse equipment with cool water, wash with hot water and a dairy detergent, rinse, sanitize and let it air dry. Don't leave a pail sitting with milk film in it. Tomorrow's milk will taste like today's laziness.
Technique: getting the hands to work
If your hand cramps, you're squeezing with the whole hand like you're wringing a towel, or you're gripping too hard. Aim for a smooth, closed-fist motion with just enough pressure to move milk. Warm the cow up first by massaging the udder slightly during washing, since this helps let-down. A cow that keeps stepping around may be uncomfortable, nervous or dealing with flies, so look at what changed. A stand with a bit of grain makes a big difference.
Hand strength builds. Alternate hands, rest when needed, and have a second person nearby who can step in. If you're learning, have an experienced milker show you in person. A 20-minute lesson in a barn beats an hour of reading. For a deeper step-by-step, hand milking a family cow adds more detail, and Cornell Small Farms has a first-person piece on milking cleanliness from a small dairy.
Hygiene points that matter most
- Clean, dry teats. Most milk-quality problems start here.
- Clean hands, clean clothes. Wash before you start. Wear gloves if you have any cuts.
- Clean bedding and a clean stand. Mud and manure are the main source of bacteria on teats.
- Keep the milk out of the barn air. Strain and cover it right away.
- Never use milk from a sick or treated cow. If she has mastitis or is on medication, keep her milk out of the family supply until your vet says the withdrawal period is over. See milk withholding times and records.
Watching for trouble
Look for a hot, swollen or hard quarter, clots or flakes in the milk, a cow who flinches or kicks at one teat, a drop in milk or a cow who is off her feed. These can all point to mastitis or another problem. This article is general education only. Treatment, drugs and dosing are decisions for your veterinarian. The California Mastitis Test is one tool vets and farmers use for checking, and when to call the vet for a sick cow covers the urgent signs.
Is hand milking sustainable for the long run?
For one cow, yes, plenty of people do it for years. With several cows, hands and schedules start to protest, and many small dairies move to a bucket machine. See bucket milker versus pipeline for a small herd if you're heading in that direction.
Quick answers
How long does it take to hand milk a cow?
Beginners often take a long time, and speed comes with practice and a cow who lets down well. Don't rush: clean teats and complete milking matter more than the clock.
Do I need to wash the udder every time?
You need clean, dry teats before the unit or your hands go on. Many people wash or wipe with a sanitizing solution and dry each teat, then dip afterward.
What if she kicks the pail over?
Stay calm, look for the cause (pain, flies, cold hands, a new routine) and keep her calm. Fixing the cause is better than punishing her, and an experienced neighbor can often spot it in one look.